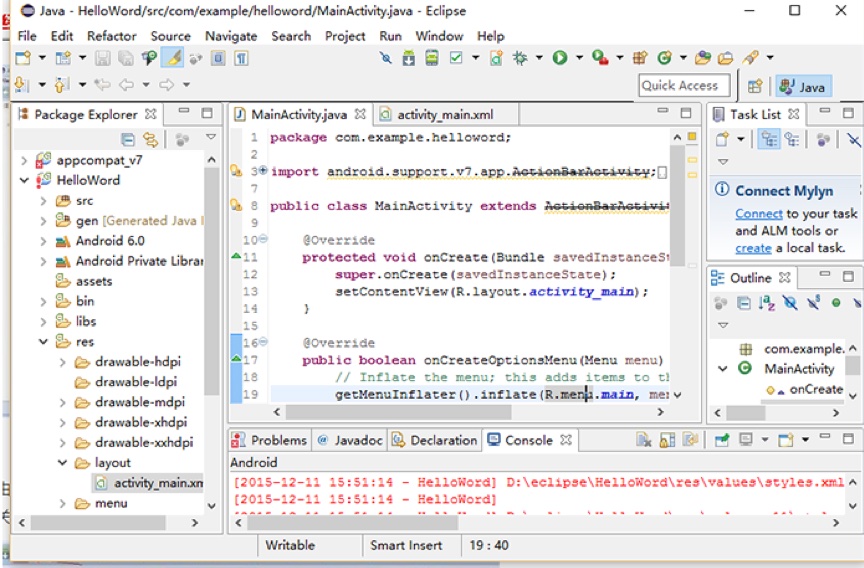
The first step to learn Android development is to build the Android development environment. Then how can we build the Android development environment in the right way? Now let’s introduce it in details.

Four steps and processes to build the Android development environment.
The first step is to install JDK. People who have learnt development would have known that JDK is the core of JAVA. You need to change the installation path of JAVA JDK after you install it. It is good to set the environment variables. (You can install it in the defaulted path as well. But you need to set the environment variables in the same path.) Click NEXT after you install and then click OK.
The second step is to install Eclipse. Eclipse is the integrated development environment for JAVA and Android development.
The third step is to install Android SDK. Unzip android-sdk_r15-windows. Double click SDK Manager and load the preinstalled Android version. Click Install 4 packages. Choose Accept and click Install. Select the preinstalled Android version and start to install. Select the rest steps in the defaulted installation way. To install Android SDK is to use the development tools that are included in the Android SDK. In this way, you can set in the path variables of the system environment variables. Next you need to add platform-tools and paths of Android SDK in the variables. In this step, you need to make sure that all the paths that you inserted are correct.
The forth step is to install ADT. It is customized by the Android development team for eclipse IDE. It would make running and self-building Android APPs more rapid and convenient.
Below is the method to install ADT plug-in online.
1. Launch Eclipse. Click Menu, Install New Software and then click Add.
2. Select the option you want to install. Always click Next to complete the installation and then restart it. After all this, the installation of ADT is completed.
3. Choose Window and then Preferences. You will see Android settings in the pop-up box. Fill in the SDK installation path. You will see kits of all platforms that you installed in SDK. Click OK to complete the setting. At this time, the whole Android development environment is built and you can start to develop Android projects.
Set up the first Android project.
1. Select File -> New -> Other -> Android -> Android Application Project.
2. Set up the project.
3. Click Next all the way down to Finish. Then the whole project is set up.
4. You need to set up a program since the whole program is run on the emulator. You just need to close it after you finish the set up.
5. Click the run button in triangular form. Then select the emulator you set up just now and the program will start to run. Tips: it would be slow to start the emulator. So do not shut down the emulator when you need to restart running it after you modify the program. You can just select Home on the emulator or click Back to Exit the APP. Then you click run again and it will restart to run.

After all these steps are done, the whole Android development environment is built. Although the whole process is a little complicated, all the steps to built are in details. Even a beginner can make it clear easily.

